Honeycomb: The World Beyond Guides
Scientist-first tutorials for the Steam demo and the September 8 landing on Sota7.
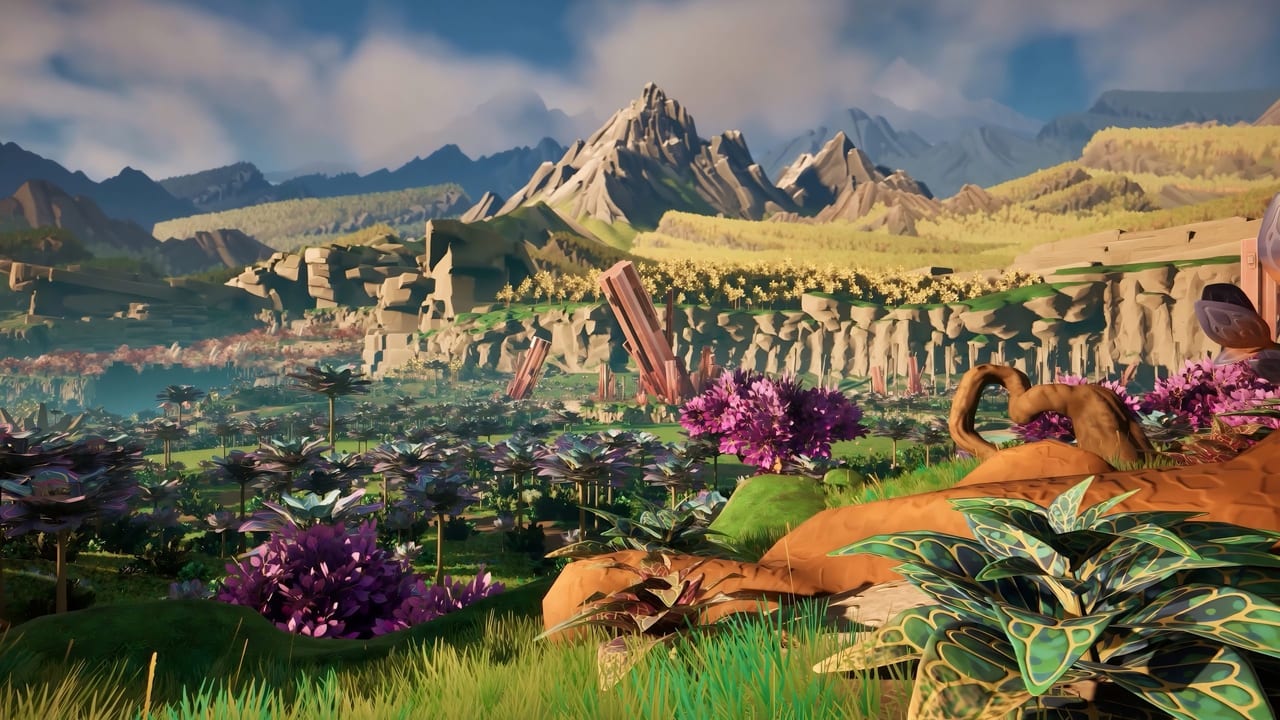
This hub is the map of every Honeycomb: The World Beyond tutorial on the wiki. The game asks you to think like Hennessy O’Quinn, not like a raider. You land on Sota7, scan life, take samples, raise a lab, and try to pull a biological answer out of an alien ecology while Earth’s environment fails at home. If you only open one page before installing, start with Getting Started. If the build is already on your disk, jump to the demo walkthrough.
What these guides are for
Honeycomb sits in a crowded survival shelf, but Frozen Way built it around observation. Specialized tools replace a single multi-tool fantasy. Hunger and thirst exist, yet they drain on a slow clock so you can actually look at a plant. Immunity, atmosphere pathogens, and cautious wildlife matter more than a kill feed. The pages below follow that loop instead of padding a generic crafting checklist.
Use this hub when you need a route, not a random article:
- First session and UI: Getting Started
- Timed Steam trial: Demo Walkthrough
- Lab work: Bioengineering
- Shelter and power: Base Building
- Hunger, thirst, immunity: Survival
- Zones and risk: Sota7 Biomes
- Hands-on verdict: Preview
- Mission and Hennessy: Story
Pair the tutorials with the Updates Hub for dates, the Tier List Hub for which species to chase, and the Tools Hub for specs and binds.
Suggested reading order
Treat the wiki like a field briefing. Confirm the September 8, 2026 launch and whether your machine clears system requirements. Then play the demo with controls nearby. After you have muscle memory for scanning and sampling, read bioengineering so the grow pod is not a mystery box. Only then spend time on biomes and the plant list. Players who reverse that order often wander The Valley without knowing why a sample matters.
The demo session cap is two hours or a quest gate; plan a tight first hour. That is long enough to place a starter lab and too short to finish The Pass. Use the hour to test movement, building plans, and one grafting or allogamy attempt. If the client will not boot, open troubleshooting. Write down crashes, bind gaps, and creatures you cannot identify. Bring those notes into the full landing.
How Honeycomb teaches you
Official materials and interviews describe a scientific method loop: observe without understanding, extract with chisels, secateurs, and samplers, replicate in the lab, then combine. Plants use grafting and allogamy. Animals can be crossed only within the same species. The animal tier list flags friendlies such as Lucuma Camilla against hostiles such as Scorchweaver so you do not walk into a greeting that is actually a warning.
Base work is the other half of the syllabus. IVS blueprints, planning mode, drones, water pumps, solar panels, and grow pods turn a landing pod into a research station. If you hate snapping walls, planning mode exists so the science still happens. Details live in base building.
Sota7 is not a winter-to-desert checklist. Frozen Way described a jungle-forward climate with a swampy valley, bone caves, a fjord-like aquatic belt, forgotten temple sites, volcano fields, The Headlands, and The Pass as an extreme end-of-progression pocket. The biomes guide is the atlas; the news log quotes the field surveys.
Who each guide helps
New players should stay on Getting Started and Survival until meters, scanning, and the landing pod feel boring. Curious botanists can skip ahead to bioengineering after one demo session. People buying on console still need the same science loop; full controller support is listed on Steam, and controls covers both keyboard gaps reported in the demo and pad expectations.
If you are here to decide whether to buy, read the preview after the demo, not before. Trailer footage is lush. The demo is the honest sample: a short timer, some launch crashes, missing binds for a few players, and a calm pace that either clicks or does not.
Keep the wiki honest
This is a fan resource. Species names, zone risk labels, and systems come from Frozen Way field surveys, Steam copy, and published interviews. Rankings on the tier list are pre-launch reading aids, not a live meta. When the September 8 build changes a plant or a meter, the Updates Hub is the place that should move first. Cross-check official Steam news and the links page before you treat any hybrid recipe as final.
When you finish a guide, follow the sibling links at the bottom. Same-category pages are written to hand you to the next job on Sota7, not to repeat the same closing paragraph.
Frequently Asked Questions
Quick answers to the most common questions.
Which Honeycomb guide should I read first?
Open Getting Started if you have not launched the game. Open the demo walkthrough if the Steam trial is already installed.
Do these guides cover combat builds?
No. Honeycomb is built around research, specialized tools, and a tranquilizer for dangerous wildlife. Use survival and bioengineering instead of a DPS ladder.
Are the guides spoiler-heavy?
Where do dates and patch notes live?
Launch timing and demo notes sit in the Updates Hub. Tutorials stay here so the two tracks do not mix.